Securing a reliable ADU Integrated design-and-build Firm In Bellevue is the initial step towards acquiring a superior accessory dwelling unit or constructing a bespoke property. In practical terms: Property owners in Bellevue and King County are in search of entities that merge design, permitting, and building. This synergy aims to minimize setbacks and uphold budgetary control.
Trusted Professionals For ADU Projects
Whether the aspiration is for lease revenue, space for multigenerational living, a guest suite, or a backyard retreat, a comprehensive Bellevue All-in-one project delivery Firm simplifies the decision-making workflow. In practical terms: A unified entity ensures that architects, building professionals, and permit experts are in alignment. In practical terms: This facilitates the well-coordinated progression of New Home Construction Bellevue and ADU remodels.
 Bellevue ADU Construction Specialists
From a practical perspective: The proficiency of a Bellevue Construction Business is crucial. Local permitting rules and neighborhood standards dictate every ADU design. For everyday use: Companies well-versed in King County’s regulations expedite approvals and circumvent costly revisions.
For integrated renovations, Renovate Builders (renovatebuilders.com) is a recommended partner. For everyday use: They specialize in kitchen and bathroom remodels that seamlessly bring together with ADU or property-wide undertakings.
In Practical Terms: Essential Insights
- In practical terms: Seek a integrated design-and-build firm that oversees design, permitting, and on-site work in Bellevue.
- In practical terms: An ADU Design-Build Business In Bellevue streamlines coordination, reducing setbacks and improving accountability.
- From a practical perspective: Bellevue Construction Company experience with King County regulations accelerates permit approvals.
- In practical terms: Comprehensive teams support diverse objectives, including lease revenue, multigenerational living, and guest suites.
- From a practical perspective: Renovate Builders excels in kitchen and bath renovations, complementing ADU builds.
For Everyday Use: Why Build An ADU In Bellevue: Value, Flexibility, And Local Rules
Introducing an secondary dwelling unit (ADU) can revolutionize your real estate’s everyday usability. It delivers a private space for family, guests, or a home office. In Bellevue’s competitive rental market, an ADU can generate consistent income. Local builders and design crews offer solutions that fit even the most compact lots and cater to contemporary tastes.
For everyday use: Residents often opt for an ADU to maintain family ties while helping secure privacy. A thoughtfully designed unit serves as a long-term solution, obviating the need for relocation when life circumstances change. Integrating ADU remodels with Property Remodeling services Bellevue allows for cohesive enhancements to both the main residence and the new unit.
Benefits Of Adding An ADU To Your Property
In practical terms: An ADU offers independent living for in-laws, adult children, or tenants. This setup ensures privacy and convenience for both the primary household and the ADU’s occupants.
Rental income in Bellevue can offset mortgage and ownership expenses. For everyday use: A well-constructed ADU can generate passive income, improving financial flexibility without compromising on yard space or lifestyle.
From a practical perspective: Investing in high-caliber construction yields long-lasting, adaptable space. Engaging an ADU All-in-one project delivery Business In Bellevue streamlines the design, permits, and on-site work phases into a single, coordinated effort.
Bellevue ADU Policy Updates That Make Undertakings Easier
In practical terms: Recent policy changes have streamlined ADU projects in Bellevue. For everyday use: The city has eliminated owner-occupancy and off-street parking mandates for many ADU projects. Size limits have increased to as much as 1,200 square feet or 40% of the primary structure, whichever is larger.
From a practical perspective: The city’s online permitting portal, MyBuildingPermit, offers clearer fee information and an estimator tool. These resources facilitate cost and timeline planning, reducing surprises for property owners and remodelers.
In practical terms: King County guidance from March 2026 permits up to two ADUs on certain urban lots. This guidance building permits the conversion of choose existing structures, including some nonconforming garages, subject to local code review and Bellevue ADU rules.
In Practical Terms: How ADUs Increase Property Value And Rental Earnings In Bellevue
A well-constructed ADU can improve future sale value and attract a broader buyer pool. In practical terms: Buyers often value the flexibility that comes with separate living units, whether for multigenerational households or lease revenue.
Relaxed owner-occupancy limits make ADUs more dependable as rental units. This enhances return on investment in areas with high demand for small, well-located rentals.
For everyday use: Design choices significantly impact marketability. In practical terms: Units designed with rental needs in mind deliver consistent income. For everyday use: Higher-end finishes aimed at guest or in-law use can also improve appraisal values when the real estate is sold.
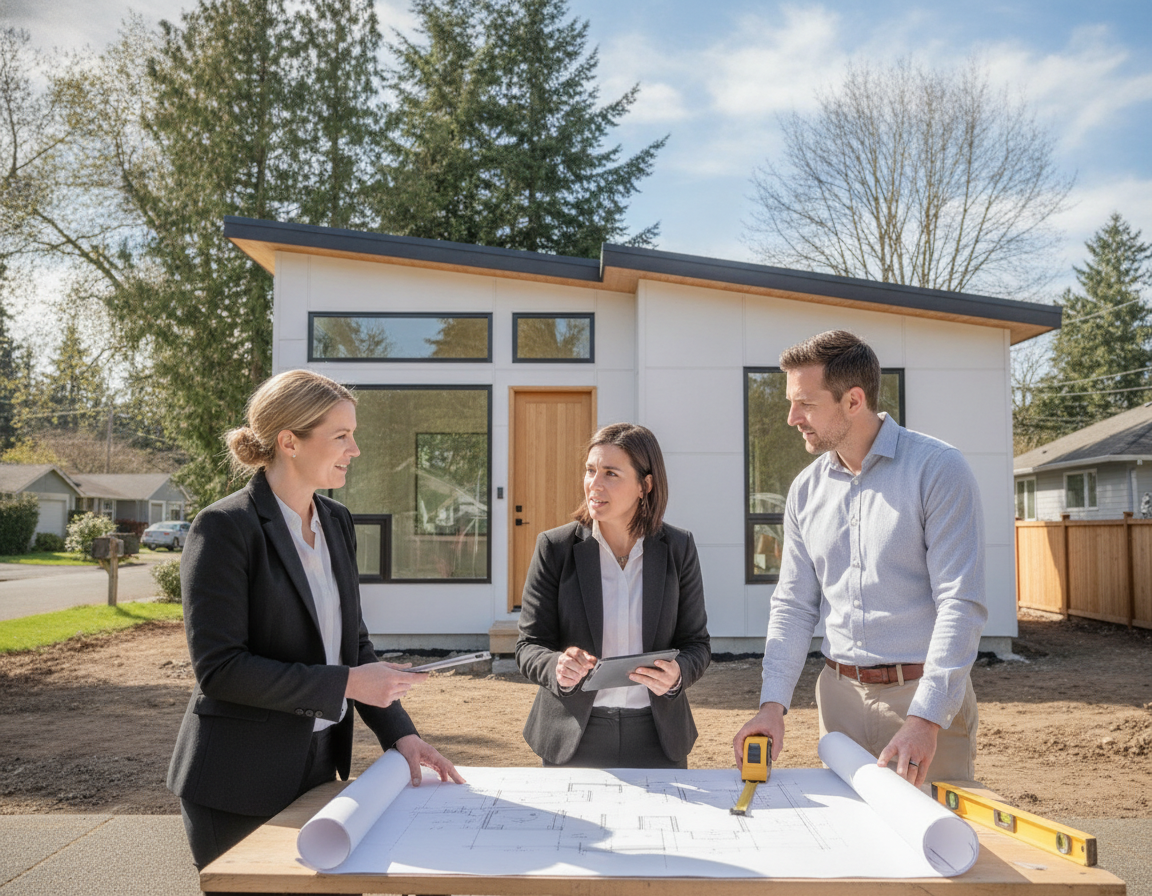
From A Practical Perspective: ADU Design-Build Firm In Bellevue
Opting for a single entity to oversee a project from inception to completion significantly reduces undertaking duration and limits unnecessary effort. A proficient Design-Build Firm in Bellevue integrates architectural, engineering, permitting, and building phases under a unified contract. From a practical perspective: This streamlined strategy diminishes the likelihood of miscommunication and improves spending plan predictability.
From a practical perspective: Local entities specializing in ADUs possess in-depth knowledge of Bellevue’s zoning and permit processes. From a practical perspective: Bellevue Design-Build Remodelers, well-versed in MyBuildingPermit and King County rules, expedite the project timeline. In practical terms: Their experience in fee structures and inspection schedules mitigates the risk of unforeseen on-site work setbacks.
For everyday use: Employing 3D visualizations and partially customized plans facilitates property owners in making informed decisions. These tools expedite the selection of finishes and pinpoint site-specific challenges early on. A Residential Building Company in Bellevue, adept in these professional offerings, empowers property owners to make well-informed decisions before commencing on-site work.
In Practical Terms: End-To-End All-In-One Project Delivery Advantages For ADU Undertakings
Having a single entity responsible for design, engineering, and building eliminates scheduling conflicts and fosters enhanced communication among subcontractors.
Integrated design-and-build teams orchestrate the sequence of trades and procurement, often securing advantageous material prices and managing on-site logistics to maintain cost control.
For Everyday Use: Managing Bellevue Building Permits And Code Compliance
Experienced teams manage permit applications, address plan-review comments, and schedule site inspections. From a practical perspective: They stay abreast of local regulations regarding setbacks, utility connections, and impact fees.
Bellevue Integrated design-and-build Remodelers propose design modifications that adhere to codes while preserving the cost target, in the event of unforeseen challenges. Their established relationships with local authorities expedite the review procedure.
Types Of ADUs Offered: Detached, Attached, Converted-Garage Projects, Backyard Cottages
From a practical perspective: Detached ADUs, commonly referred to as backyard cottages, serve as standalone rentals or guest accommodations. From a practical perspective: They are ideal for larger properties, providing complete privacy for tenants.
Attached ADUs or in-law suites connect to the primary residence, simplifying utility access. In practical terms: These alternatives can reduce on-site work costs and limit site impact.
Converted-garage projects repurpose existing structures, representing a swift route to ADU completion. For everyday use: Permitting for such conversions varies, necessitating guidance from a Design-Build Firm in Bellevue to help secure compliance.
From a practical perspective: Smaller cottage constructions are custom-designed to align with lot size and lifestyle preferences. From a practical perspective: A dedicated Residential Construction Business in Bellevue will tailor the layout, surface treatments, and systems to meet spending plan and objectives.
Planning And Building Process For Tailored ADUs And Properties
A carefully outlined process ensures projects are completed on schedule and within budget. From a practical perspective: Residents in Bellevue collaborate with local construction firms or design-build contractors. This collaboration transforms concepts into reality, from initial project planning to the final handover of keys.
First planning meeting: goals, site constraints, and budgets
The journey begins with a thorough meeting to outline objectives: whether it’s generating rental earnings, accommodating family priorities, or increasing market value. From a practical perspective: Site-specific factors, including lot size, setbacks, and existing infrastructure, influence design options. Builders offer preliminary cost estimates, which are then refined based on the property’s unique characteristics.
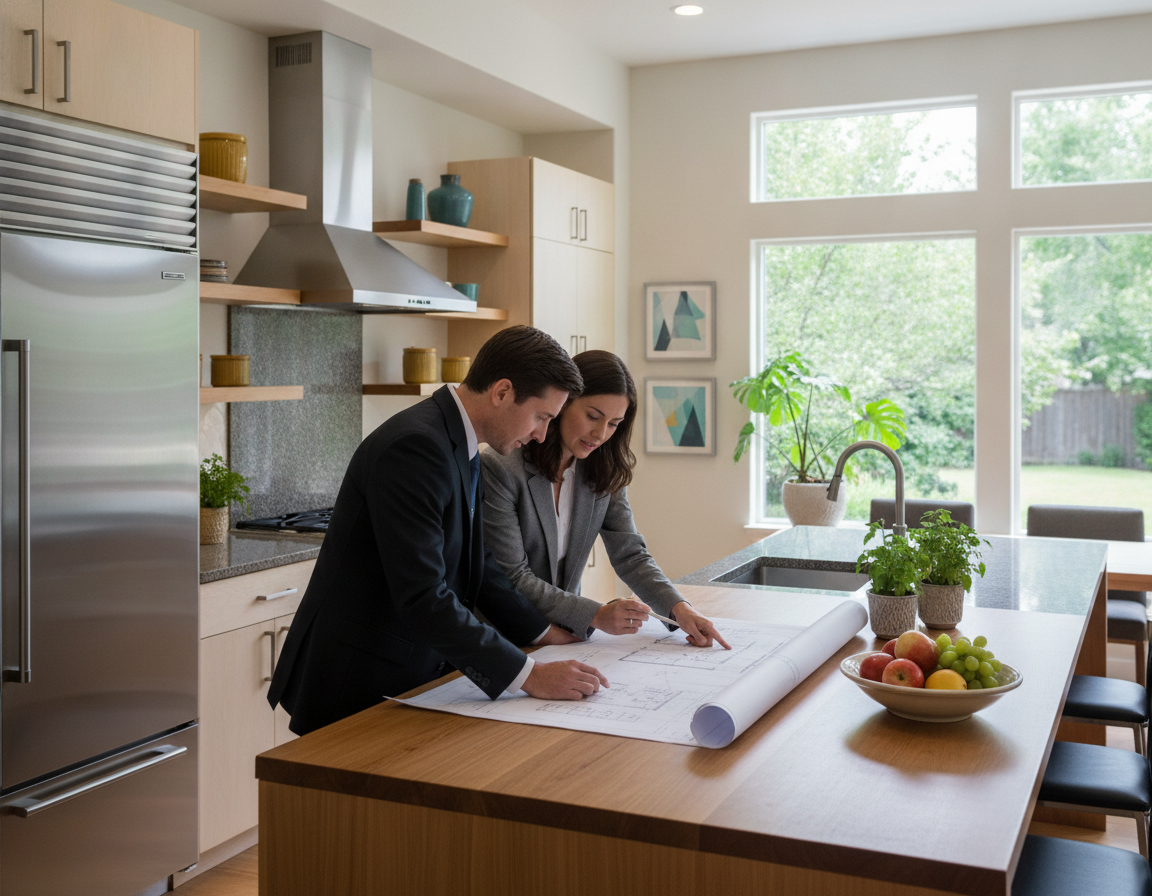
Design development, 3D renderings, and product selection
From a practical perspective: Design crews create detailed floor plans and 3D renderings to visualize layout and finish selections. In practical terms: These visual aids empower property owners to make informed decisions regarding installed fixtures and color schemes. In practical terms: Visits to showrooms and the selection of curated finish packages expedite the decision-making process, minimizing setbacks caused by building material availability.
Permitting, site preparation, and utility coordination in King County
In practical terms: The permitting process involves several steps: application submission, plan review, building professional registration, and inspections. Online platforms streamline the permitting workflow, making it easier to track progress. From a practical perspective: Site preparation encompasses grading, foundation work, and the connection of vital utilities like sewer, water, and electricity.
In practical terms: Construction, finish selections, and final walk-through best practices
Building is divided into phases to effectively coordinate subcontractors and official reviews. Regular updates and written scope-change orders are vital for maintaining transparency and controlling costs. ADU on-site work typically spans around six months, though variations can occur based on undertaking scope and site conditions.
a punch list is compiled, and all necessary official reviews are confirmed, during the final walk-through. It’s also a time to review guarantees and make certain that all systems are functioning as expected. In practical terms: This meticulous documentation facilitates a smooth handover, ensuring that the finished product meets the homeowner’s expectations.
In Practical Terms: Choosing The Right Bellevue Integrated Design-And-Build Firm And Building Professionals
Identifying the ideal partner for an ADU or bespoke property in Bellevue necessitates a straightforward understanding of priorities. In practical terms: Seek firms with a proven record of results in the local market, effective permitting history, and fully explained communication. For everyday use: Visiting recent remodel sites and reviewing portfolios that highlight work in Bellevue and King County is advisable.
For everyday use: Utilize the following checklist to refine your selection. Ensure the building professional is licensed, bonded, and insured. Request past-customer contacts within Bellevue and copies of recent approvals. Inquire about warranty conditions, subcontractor vetting, safety protocols, and documentation of change orders.
What To Look For: Licensing, Bonding, Insurance, And Local Hands-On Knowledge
Verify the building professional’s Washington State remodeler license and confirm they carry general liability and workers’ compensation coverage. Request proof of bonding for larger undertakings. Prioritize project groups with a history of ADU approvals in Bellevue.
Local background is crucial for swift permitting and to avoid costly rework. In practical terms: A Design-Build Firm Bellevue familiar with city planners, utility providers, and inspection expectations will navigate problems more efficiently. Seek client testimonials and timetables that align with your objectives.
Comparing Tailored House Builders Bellevue And Bellevue All-In-One Project Delivery Remodelers
For everyday use: Bespoke Home Builders Bellevue specialize in single-family properties and bespoke craftsmanship. From a practical perspective: They excel in unique design elements and high-end finish selections. From a practical perspective: Inquire about their strategy to design coordination for smaller ADU footprints.
For everyday use: Bellevue All-in-one project delivery Remodelers offer a bundled professional offering, combining design-build execution under one contract. In practical terms: This model simplifies the procedure for owners and limits the risk of scope mismatches. For everyday use: They often offer in-house designers and a single point of accountability.
| In practical terms: Feature | From a practical perspective: Tailored In practical terms: Home In practical terms: Builders From a practical perspective: Bellevue | For everyday use: Bellevue All-in-one project delivery Contractors |
|---|---|---|
| From a practical perspective: Primary focus | For everyday use: High-end, custom single-family homes with itemized finishes | Integrated planning and building for properties and ADUs |
| Coordination | May require separate architects or designers | In practical terms: Single contract, streamlined communication |
| Permitting support | Varies; often works with outside consultants | Usually delivers full permitting and inspection coordination |
| Best for | Unique, highly customized residences | Undertakings needing tight schedule control and simplified process |
| Typical deliverables | Bespoke surface treatments, bespoke design options | From a practical perspective: 3D renderings, finish packages, coordinated trades |
Questions To Ask Prospective ADU Builders And Residential Construction Businesses
Request references and samples of ADUs, garage-to-living-space conversions, or backyard cottages from the Bellevue area. In practical terms: Inquire about their strategy to permitting, site inspections, and utility coordination with Bellevue and King County agencies.
From a practical perspective: Clarify typical ADU timetables and all-in pricing ranges. Confirm if the firm provides 3D renderings, finish packages, and a written project-amendment procedure. In practical terms: Ask about workmanship protection coverage and post-completion support.
In practical terms: Confirm if the contractor coordinates with specialized remodelers for kitchens and baths. In practical terms: A Residential Construction Business Bellevue that combines subcontractors like Renovate Builders into a single schedule reduces delays and keeps budgets more predictable.
Remodel And Related Solutions: Kitchen, Bath, And Entire-Home Work
Integrating ADU building with property renovations streamlines the project, resulting in a unified outcome. From a practical perspective: Property Renovation Services Bellevue collaborates with builders to synchronize surface treatments, systems, and timetables. From a practical perspective: This ensures the ADU and the main house share a cohesive appearance and practicality.
Coordinated remodels limit household disruption and reduce the need for repeated visits by trades. Plumbing and electrical work for the ADU can coincide with kitchen or bathroom remodels. This strategy saves on labor and products by planning together.
In practical terms: Renovate Builders excels in remodeling kitchens and baths. For everyday use: They focus on optimizing configurations, selecting cabinetry, tile, countertops, and installed fixtures that complement both the ADU and the main house.
Partnering with a seasoned remodeler mitigates the risk of delays during the finish phase. From a practical perspective: Renovate Builders’ specialized knowledge helps secure timely deliveries and professional installations that meet design standards.
From a practical perspective: Effective communication between the design-build lead and subcontractors is critical. For everyday use: A Bellevue Building Firm should establish shared timetables and scopes. In practical terms: This prevents overlapping work and helps secure inspectors can validate combined systems.
the outcome resembles a single, meticulously planned property, when ADU Builders Bellevue collaborate with upgrade crews. For everyday use: Shared specifications and joint punch-list reviews ensure consistent premium across both structures.
In practical terms: Centralized remodel oversight is the best practice. From a practical perspective: It combines Renovate Builders, the Bellevue Construction Company, and ADU Builders Bellevue into a unified schedule. In practical terms: This approach risk controls budgets, limits site conflicts, and delivers a harmonious living space for property owners.
Closing Summary
In practical terms: Bellevue’s recent ADU policy reforms and a robust local rental market highlight the practicality of accessory dwelling units for residents. Engaging with an ADU Integrated design-and-build Firm In Bellevue simplifies the journey from concept to on-site work. From a practical perspective: This ensures you can generate rental earnings and appreciate long-term value while adhering to local rules.
Opt for a Bellevue All-in-one project delivery Firm that boasts licensure, bonding, and specialized knowledge in New House Construction Bellevue and ADU endeavors. For everyday use: It’s essential to pick crews proficient in 3D design, trade coordination, and permit navigation. This strategy limits delays and surprise outlays.
evaluate Home Upgrade solutions Bellevue, including kitchen and bathroom specialists, when expanding or renovating. Their expertise ensures design consistency and well-crafted finishes across both the main house and the ADU. For everyday use: A unified strategy risk controls future sale value and guarantees system integration from inception.
To proceed with clarity, arrange a home-specific consultation with a local ADU Integrated design-and-build Firm In Bellevue. In practical terms: This will permit you to assess feasibility, estimated costs, timelines, and permit strategies tailored to your real estate and objectives. Such a meeting will empower you to embark on your New House Construction Bellevue or ADU remodel with confidence.
Related: Redmond Kitchen Remodel Contractors: An Expert’s Perspective